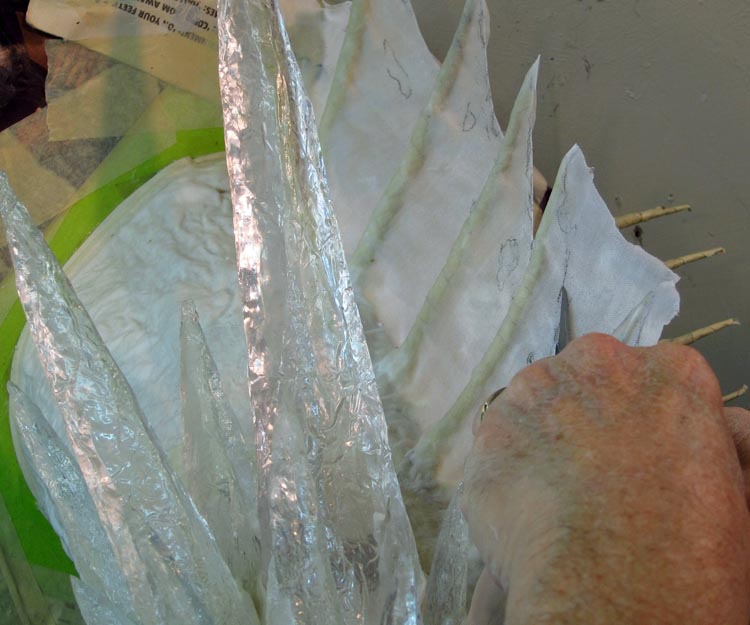
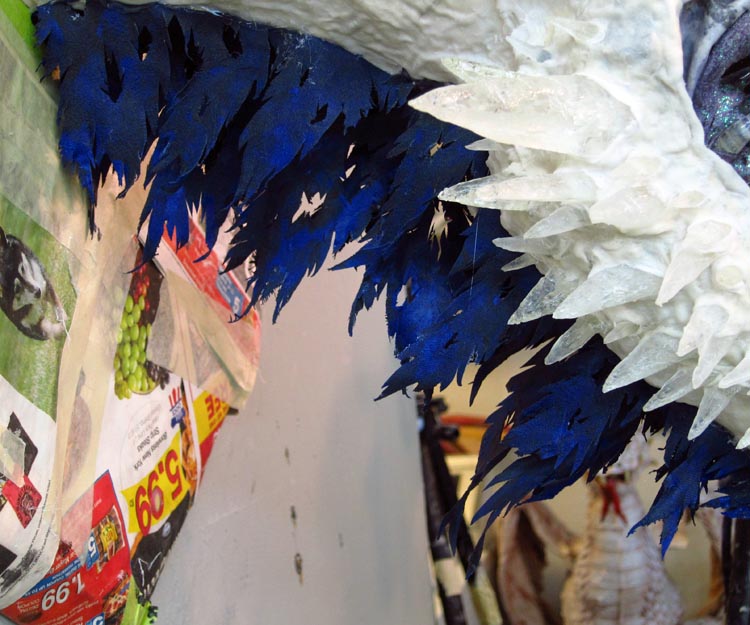
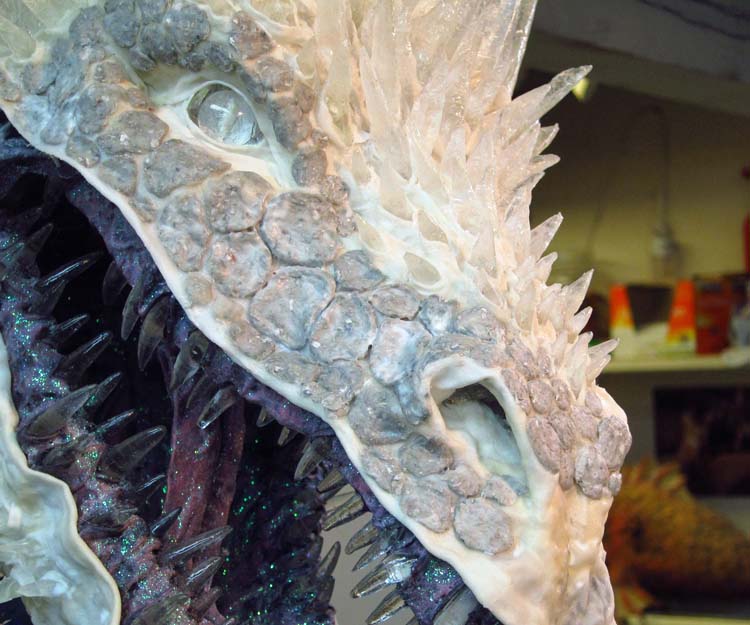
I have to say at this point that much work has happened and yet I haven’t even started the final assembly when the dragon starts looking like a dragon. That will come with the next post, I promise. As you can see, a lot of this process could be considered “grunt work,” all in preparation for the final sculpt. Because of this, these projects can take many, many (add a couple more “many”s if you want) hours. I tried counting a few times but always just lost track. Luckily, I enjoy every part of the process, even what most people consider very boring and repetitive. That’s why I’m still doing this work after many decades.
Soooo, about Wood Plaques and necks….
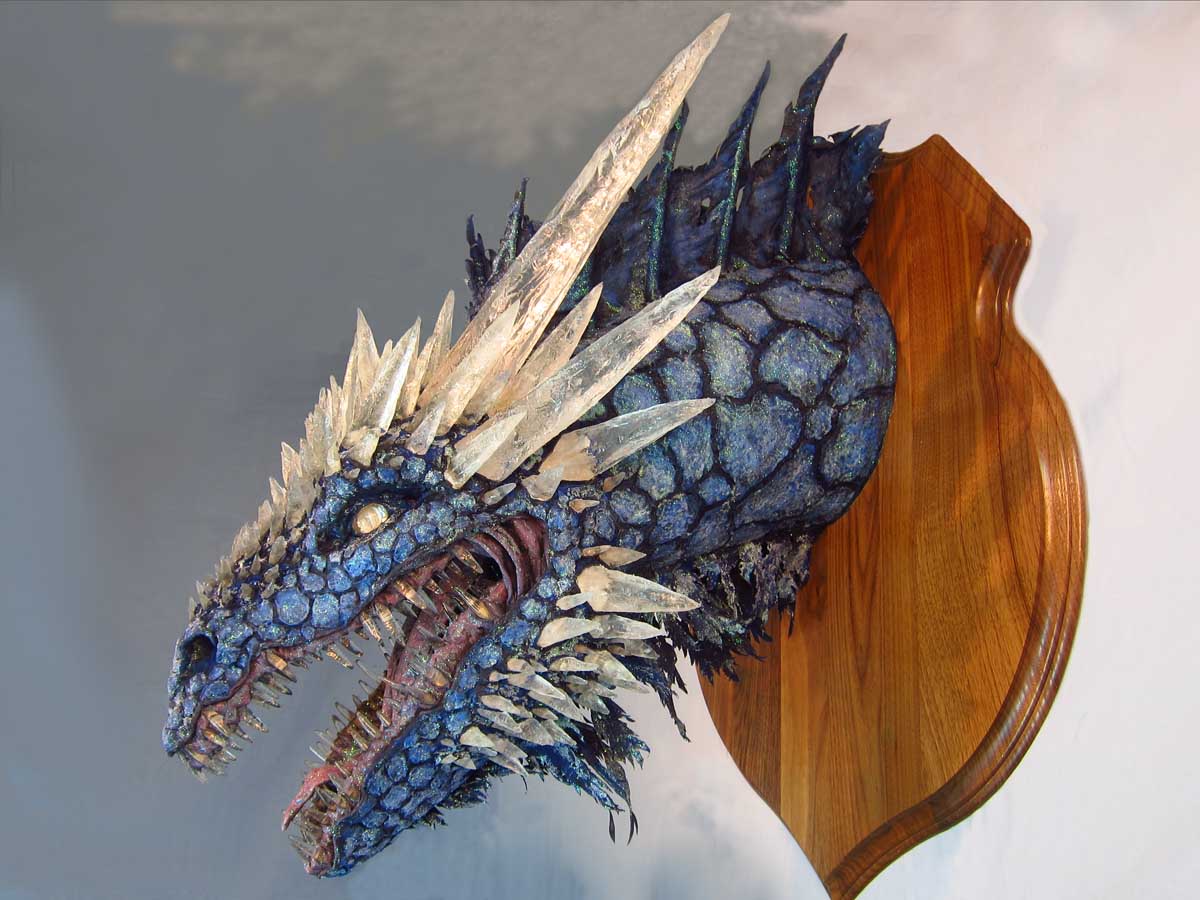
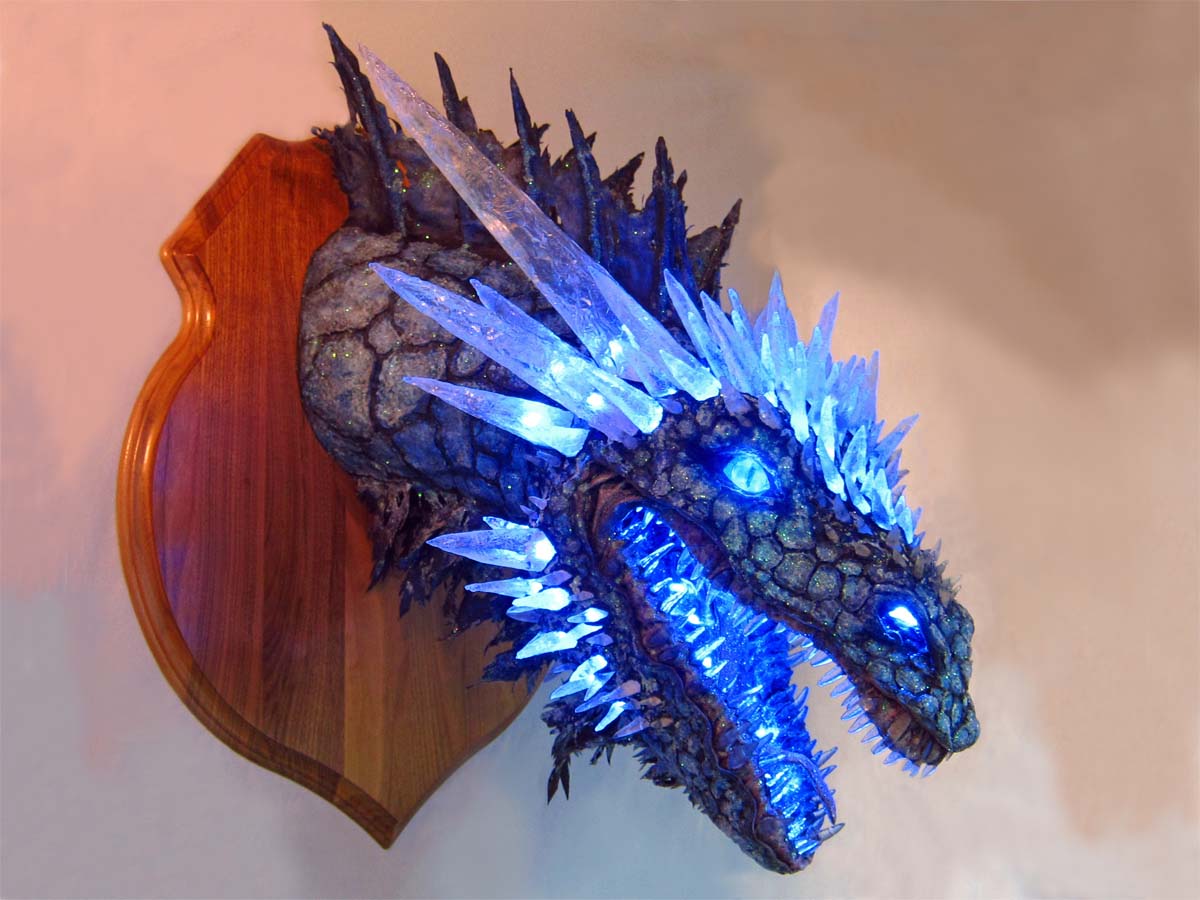
I’ve made many trophies that just hung on the wall, that were not mounted to any kind of wood backing. Those work very well when you want it to look as if the dragon was coming through or out of the wall. But lately I’ve been mounting the trophies to wood plaques. The downside is that it looks as though the dragon has been killed. It really bothers some people. (I think I’ve have heard from them all.) But in case I’ve missed one of you, let me say unequivocally, I have never actually killed a dragon.
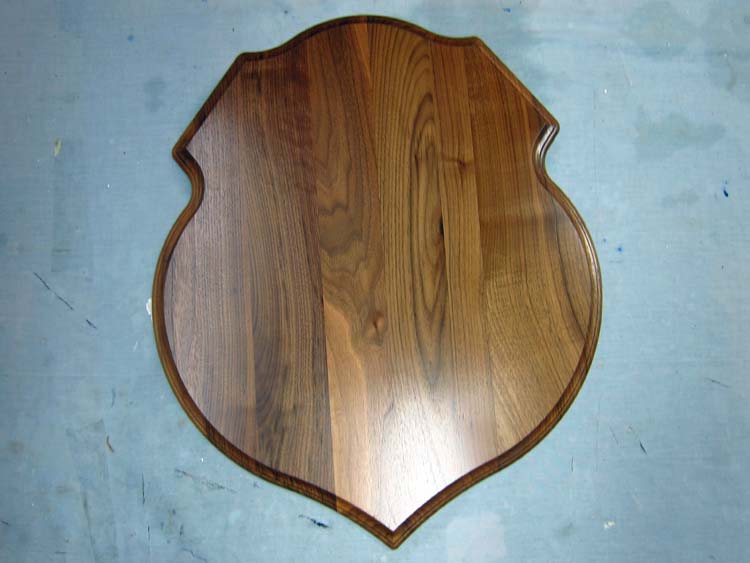
Anyway, I buy my plaques from the same taxidermy companies where I get my eyes. They are all great quality and reasonably priced. Here is the one I’m using for this piece.

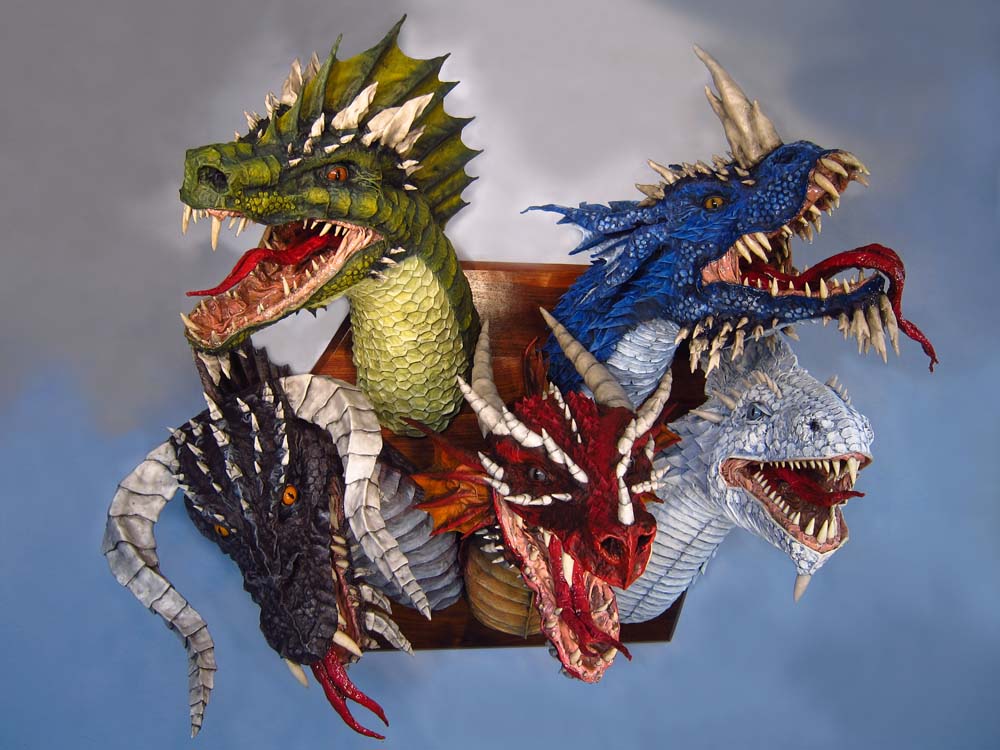
Many of the people who have used my techniques to make trophies have made their own plaques. I made a very big one for my five-headed Tiamat dragon. It adds a nice touch.

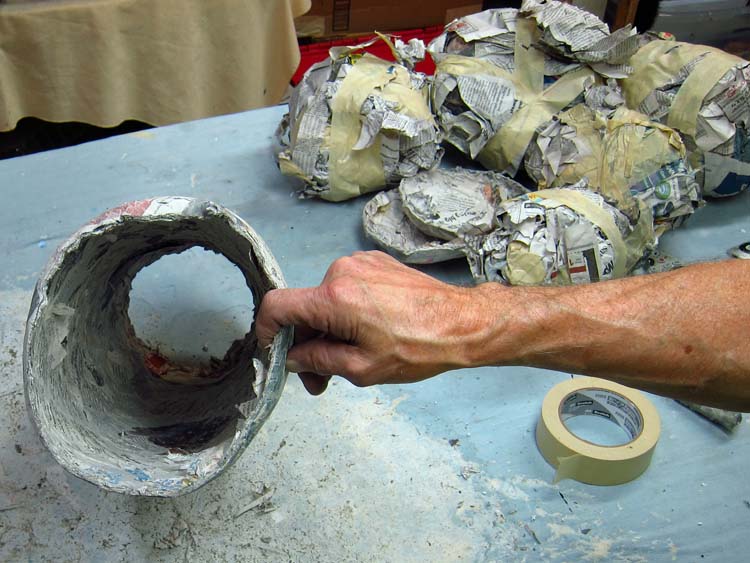
The neck.
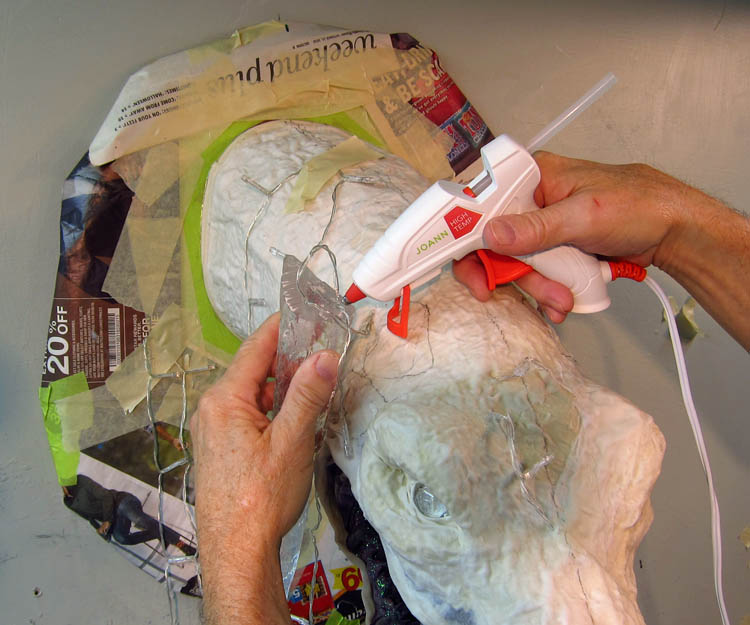
Time to cut open the paper mache neck. I cut off both ends and pulled out the wads of paper that I used to make it.


I’m left with a fairly strong, light, paper mache shell. As a bonus I am able to use the wads of paper again. I toss them into a box for future projects.

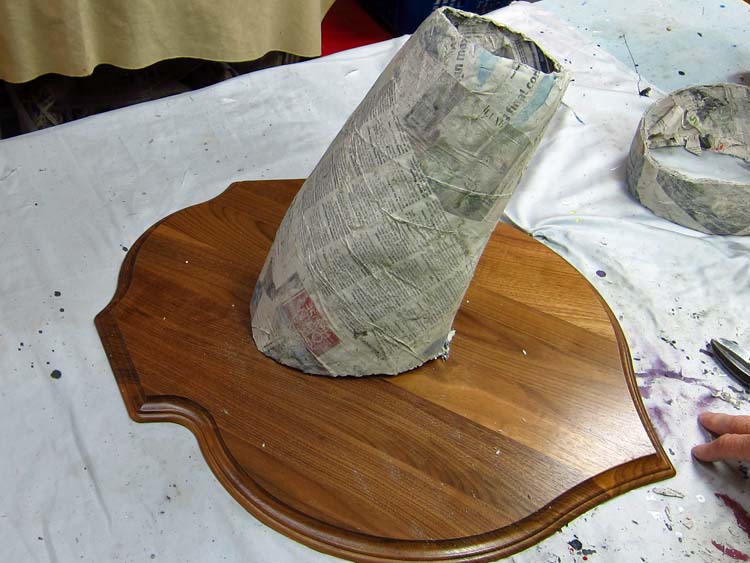
I wanted my trophy to come out of the plaque facing slightly downward and with a little turn of the head (just like in the drawing of Viserian that I put in the first post). So I trimmed the shell so that it would sit the way I wanted on the plaque. When I had the position I wanted I traced around it with a Sharpie (to use for mounting later).


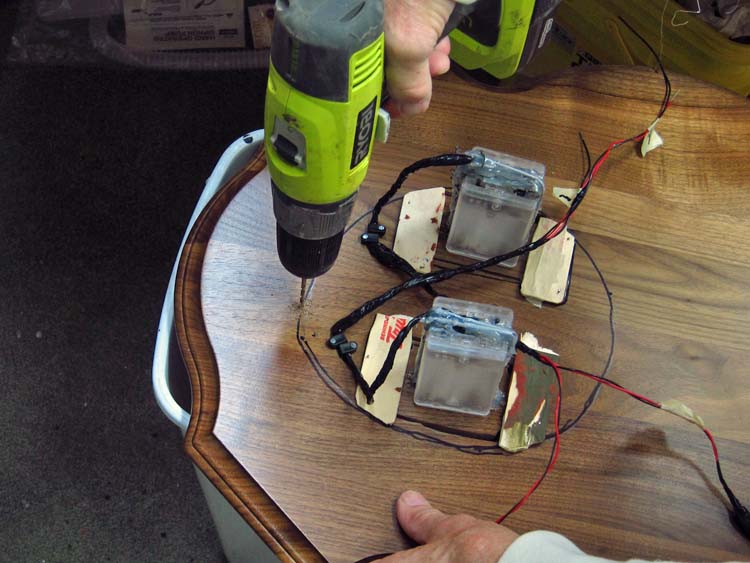
Battery packs.
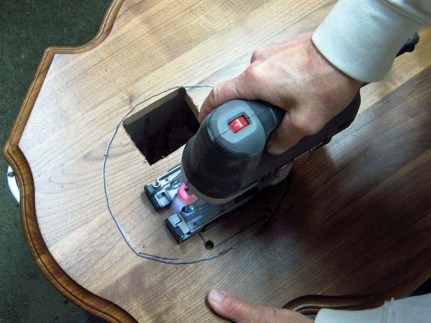
I need to take a side trip here before showing how to attach the neck to the plaque. Since I am using battery powered l.e.d.s I need a place for the battery packs. In this case I will have four packs that I want to hide inside the neck. After drilling a hole in the middle of the plaque that I’ll use to hang the project (that hole will go over a screw in the wall) I cut two holes that were the same size as the battery packs.
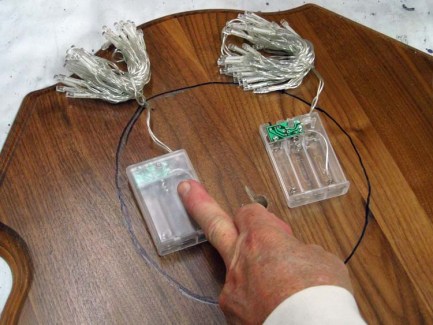
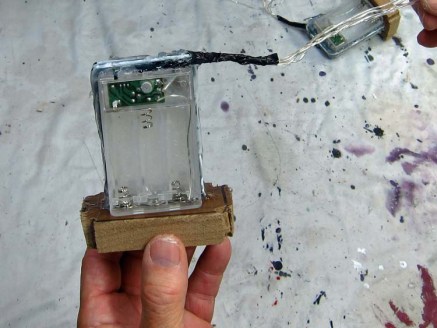
I hot glued two packs back to back and also added a strip of duct tape (for good measure) to hold them together.

Then I drilled a round oblong cut-outs on each of the wood pieces that had been cut out. I inserted pieces of wire clothes hanger bent into a square. I used the wire to hold the battery packs to the pieces of wood. The oblong holes allow me to grab the wire when pulling out the battery packs.

Connecting the Neck to the plaque.
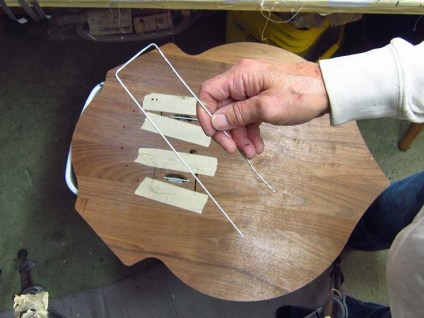
The shape of these trophies require a very secure connection to the wood plaque. This is especially true if the trophy sports a long neck. While the trophies themselves are not terribly heavy, a long neck will create significant torque. Glue by itself is not strong enough to keep the trophy on the wood. I use pieces of wire clothes hanger to secure the neck to the plaque.
First I drill holes around the perimeter of the neck.

Then I bend pieces of wire clothes hanger into “U” shapes.
I push the ends through the holes from the back of the plaque.

I make little hooks at the end of the wires (on the neck side) that I push into the paper mache shell. I hold them in place with masking tape.

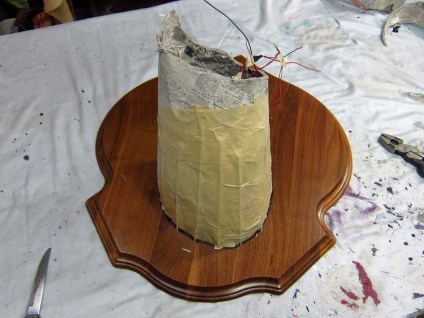
Then I add a couple layers of cloth mache.

When dry this becomes a very strong, secure platform to finish sculpting the dragon.
Hang in there. Next post this will start to look like a dragon!